My wife and I were racing the sun in the Chalbi Desert, trying to get to the Ethiopian border before dark when she got a flat tire. A piece of glass punctured her rear tire. We carried a small hand pump, but it was full of mud. If only I packed a small 12V tire pump on this African adventure bike trip.
Whether your adventure bike rides on tubeless or tubed tires, if you get a flat tire on your adventure bike, and you are stuck in the middle of nowhere, you are going to need a tire pump. There are a few options.
On any long distance adventure bike trip, the risk of a flat tire is ever present. In a car or truck, you always have the peace of mind of the spare wheel. Not on a motorcycle.

If, or when, you get a flat tire, you will need roadside assistance or you will have to fix it yourself. And if you manage to fix the puncture, you will need something to inflate it with. You will need a tire pump.
You will need a pump if you get a flat
Riding long distances on an adventure bike trip, there is always the risk of getting a flat tire. Without a spare wheel, like a car, it is a good idea to have a back-up plan.
Many adventure riders take a back-up vehicle along. This is usually a 4WD truck or an SUV that carries the tools, spares and spare tires. In the truck, there will likely be a big enough 12V tire compressor. Many adventure bike riders, however, prefer unaided trips.
If you venture far into the unknown, without backup, where there is no cell phone signal, you will need to carry a tire repair kit or spare tube.
In addition to the necessary tools to carry out the repair, you will also need something to inflate the tire with once the repair is done.
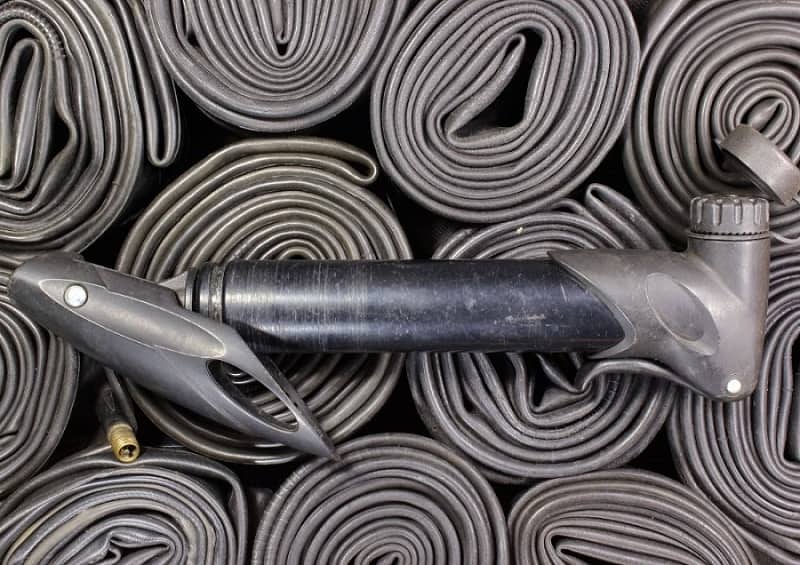
Manual pump
The cheapest option to get air into your tires is a small bicycle hand pump. They are very light and will fit into your luggage easily. While it might take some time, it is possible to inflate any motorcycle tire with it.
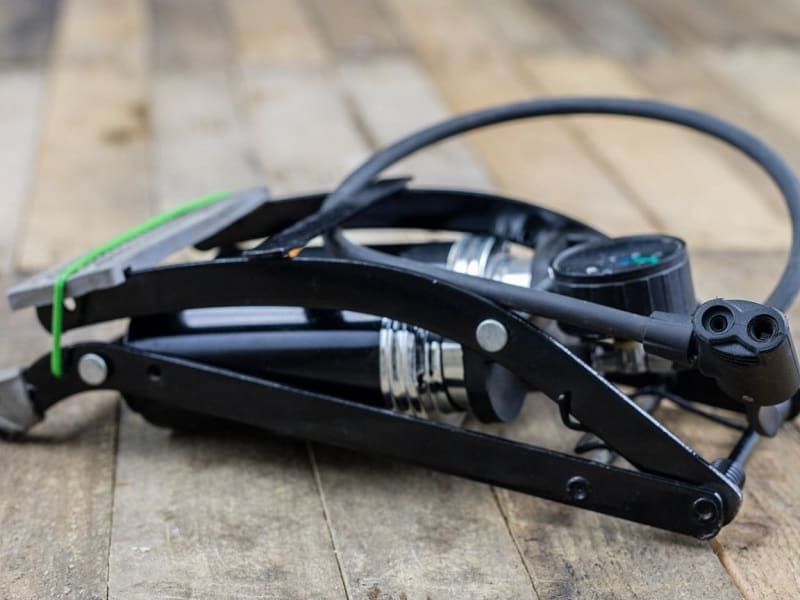
A more effective option is a foot pump. The larger volume cylinder will inflate the tire much quicker and it will take less effort. The downside is that it takes up a lot of space and it is heavier.
If you have tubeless tires, a manual pump might be a problem. A tubeless tire that has completely deflated might lose its seal around the bead. A manual pump won’t be able to inflate the tire quickly enough to seal against the rim again. The air will just escape as you try to inflate it.
I’ve seen people seat the bead with a foot pump and a lot of tire lubricant, but you are going to sweat dancing on the pump.
CO2 cartridge
If you are not keen on working up a sweat with a bicycle tire pump, a CO2 cartridge kit is an easy alternative. These small steel cartridges contain 100% pure high velocity CO2 gas. The cartridge is threaded into a re-usable valve adapter that fits your bike tire valve.
Once you open the valve, 8-9 lbs. of inflation is discharged into your tire in just a few seconds. On a large adventure bike tire, it will generally take four canisters to reach 24 – 32 lbs. of pressure depending on the size of the tire. It is best to carry a few spare canisters with you.
On most tubeless tires it is not possible to set the bead with a small 16 gram cartridges, but to inflate a tube-type tire it works like a charm.
Electric 12V air compressor
Probably your best bet is a small 12V air compressor. With zero effort you can inflate a bike tire up the desired pressure. You simply plug the compressor into the bike’s 12V accessory plug and connect the air hose to the valve.
There are many compressors to choose from and it depends on your budget and how much space you have, so do your homework before you buy.
This mini compressor from Dynaplug, for instance, will inflate a 100/90-19 front tire from 0 to 36 PSI in 3 minutes. It has a maximum pressure of 100 PSI, which is way more than you’ll need.
TIP: I always carry a can of Tyreweld on a trip. While not always effective, it can be a quick temporary fix until you get to the next town.
Francois Steyn – Crossing Africa
You first need to fix the tire
There’s not much use in having a pump if you are not able to repair the tire. The repair method will depend on the type of tires your adventure bike rides on. I won’t dive into the details of tire repair, but here is a brief look at the two different types of tire.
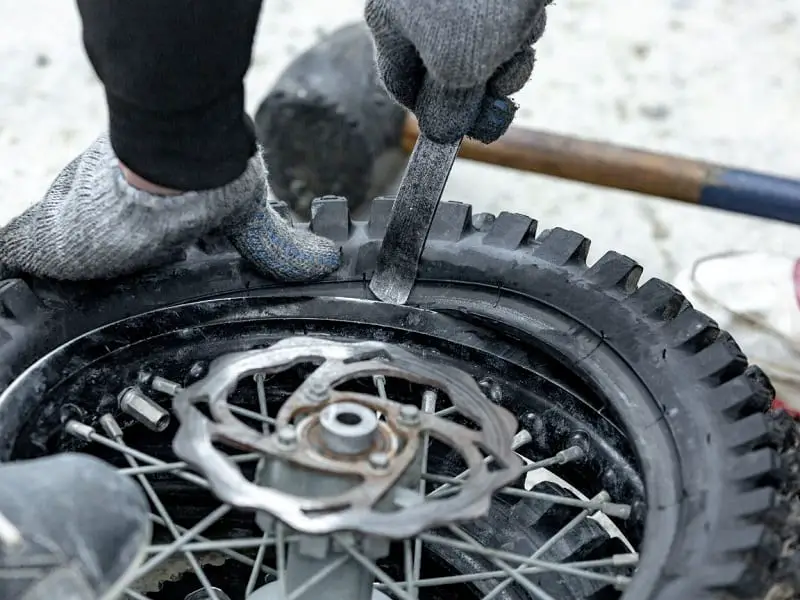
Tube
Few new adventure bikes still run tires with inner tubes. You’ll only find them on older bikes, like the Yamaha XT 660 Ténéré or Kawasaki KLR 650. Most dual sport bikes also still use tube type tires.
These are easy to fix along side the road. All you need is the tools to remove the wheel, tire levers to get the tire off the rim, and of course a spare inner tube.
Inflating a tube type tire is simple. Any of the pump options we’ve discussed above will work. The most important thing to remember is to make sure you remove whatever object caused the puncture from the outer tire. If you don’t, it will just puncture the new tube as soon as you inflate it.
TIP: Practice replacing a tube at home. While it is not too difficult, it will take some practice. It will not be fun doing it for the first time next to the road.
Be careful not to pinch the inner tube between the tire and the rim when you insert it, and make sure the valve is straight.
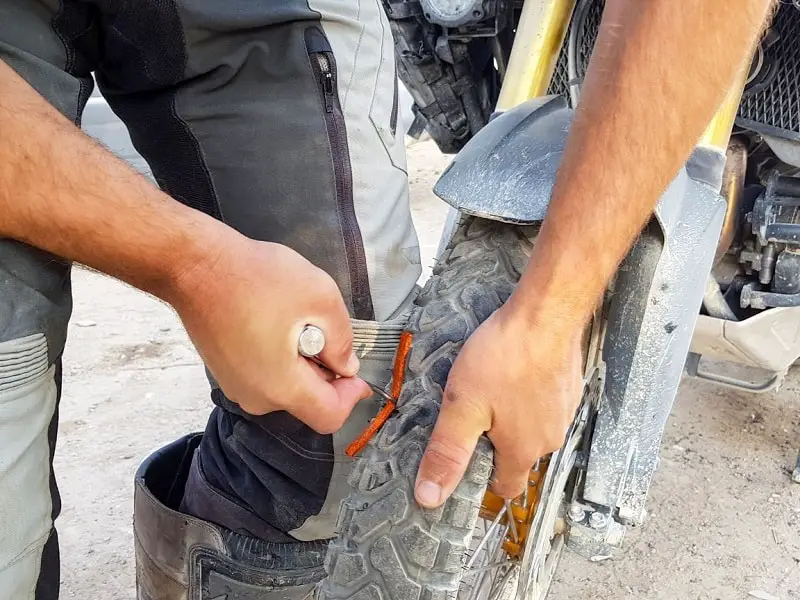
Tubeless
Most big adventure bikes ride on tubeless tires. While they are less prone to punctures due to less friction, and therefore running cooler, they will not stop a nail or an unfortunately placed Camelthorn.
It is much trickier to remove a tubeless tire from a rim due to the tire riding inside a bead around the rim. This is to ensure an air tight seal. Luckily most punctures (apart from side wall damage and big tears) can be fixed by simply inserting a mushroom plug with a tubeless tire repair kit.
The video below explains the whole process.
Something to keep in mind is whether your pump will be able to seat the bead on the rim. If you inflate the tire too slowly, air will escape around the rim and it won’t seal properly.
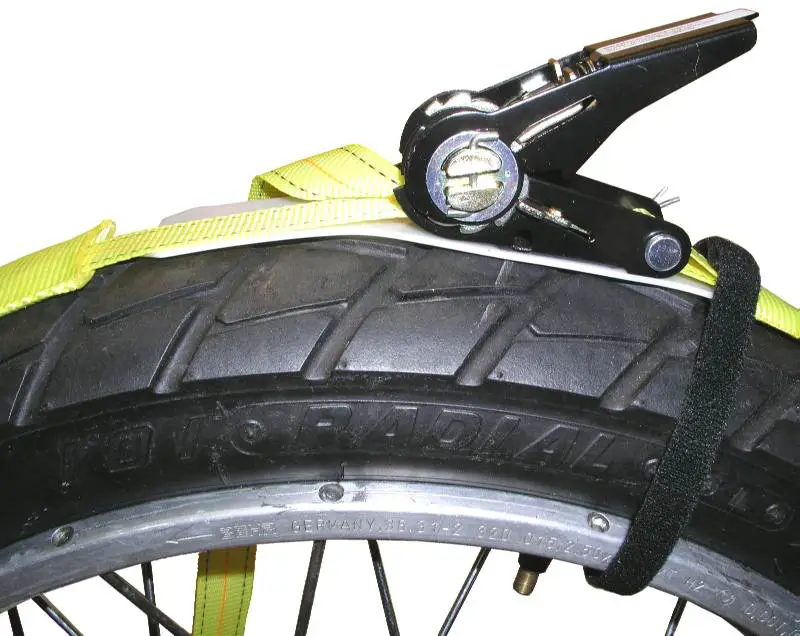
In order to assist with seating the bead, a tubeless tire mounting system, like the BeadSetR can be used. It consists of a strap that fits around the outside diameter of the tire. By tightening it you squeeze the tire beads against the rim to create an initial seal. From there you can inflate the tire with most pumps.
In a pinch, you could also fit a tube to a tubeless tire if the valve is set in the rim (and not the spokes). And if you manage to remove the tire from the rim.
If you are going on a very long adventure bike trip, make sure you practice fixing a tire before you leave home.
How to avoid flat tires
Although not totally avoidable, there are some things you can do to reduce the likelihood of getting a puncture on a long adventure bike trip.
Tire condition
Probably the most important thing you can do is to replace your tires when they get old. If the tread is worn past its limit, or if it is close before you leave on a long trip, rather replace your tires with a new set.
You are far less likely to puncture new tires than old rubber. If you don’t ride your bike often, pay attention to the age of the tires. Even though there are enough tread left, a tire that is older than 6 years should rather be replaced.
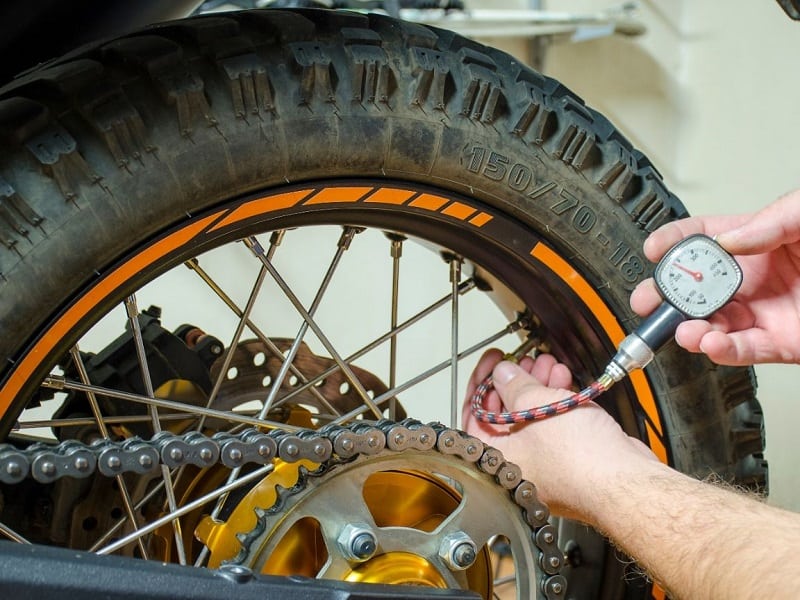
Tire pressure
Always make sure your adventure bike’s tire pressure is within the manufacturer’s specifications, especially on fast highway riding. Tires get hot when they are under-inflated and can become dangerous.
In the dirt or soft sand it helps to let some air out to elongate the tread pattern. At lower speeds this is okay, but remember to inflate it again when you hit the tarmac. Also watch out for sharp rocks that can damage the flexing sidewalls.
Look where you are going
While this may seem obvious, keep an eye out for sharp protruding rocks on gravel roads or large thorns (yes, stopping under a Camelthorn tree in Africa can leave you stranded).
In my experience it is almost always a man-made object that causes punctures. Come to think of it, I cannot recall one instance where it was not.
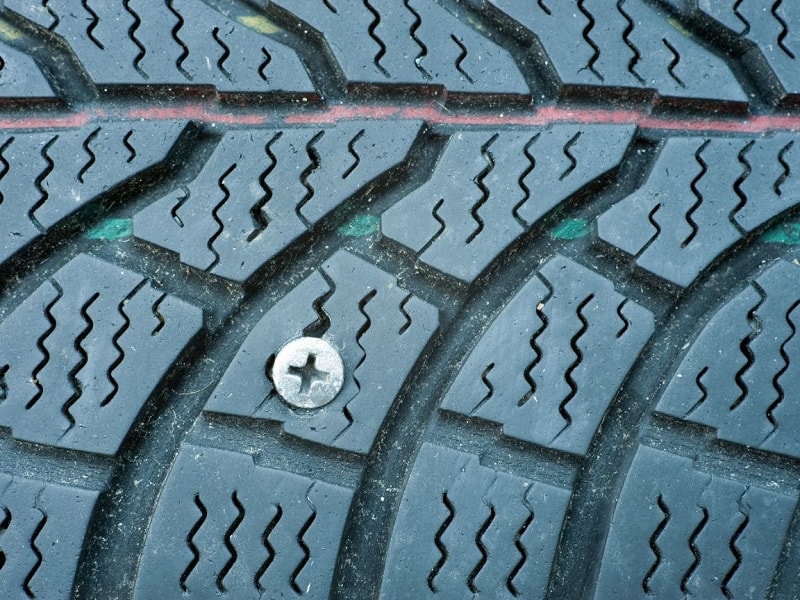
On our 90-day journey from Cape Town to Cairo we had three punctures: (1) a nail in Kenya, (2) a piece of glass in the Chalbi Desert close to the Ethiopian border, and (3) a metal staple in Sudan.
Final thoughts
A punctured tire is one of the most likely breakdowns that you will face on a cross continental adventure bike trip. The most important thing you need is to have a plan of action.
If your plan includes fixing the puncture yourself, make sure to take all the necessary tools and spares. And practice doing it yourself before you leave home.
Happy touring!
Related questions?
Do You Know How to Maintain Your Adventure Bike Chain?
Check out this post on how (and when) to inspect, clean and adjust your adventure bike chain to keep it as reliable as possible on a long adventure bike trip.