Up next in 10


Removing and installing a motorcycle chain master link is very simple and you only need a set of pliers and 2 minutes.
For more on inspecting and adjusting your chain, check out https://adventurebiketroop.com/chains
Show More Show Less View Video Transcript
0:00
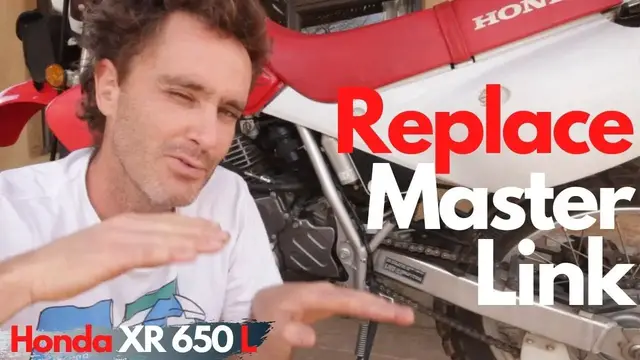
In this video I want to quickly show you how to remove and replace a chain master link
0:07
Hi, I'm Franco from AdventureBiketroop.com where we chat about bike riding, maintenance
0:12
travel tips and more. If you're new here please consider subscribing and for any links you can
0:17
check the description below. In this previous video I made a DIY chain slider. You can check it up
0:24
somewhere here I think. And lying next to the bike I spotted something funny. See if you can
0:30
and spot it. There's two things. The first thing is there's two master links and they're about five
0:35
chain links apart. So that means the chain must have snapped somewhere and they've placed it with
0:40
a master link. The other funny thing is that one of the master links are the wrong way around
0:44
If you spot closely, the first one is the right way around. So it's facing to the rear. So as the
0:50
chain rotates forwards, if it hits something, it's not going to be dislodged. But the other one
0:57
faces the wrong way around, so with the open end facing forward, so in the direction of the movement of the chain
1:02
So if it hits something, it's going to come loose and the whole chain will come apart
1:07
So in order to swap this very simple just take pliers you can grab it between the pin closest to the opening edge and the edge itself and just squeeze and it will pop out
1:23
Just be careful because you might lose it or it could hit you in the eye. So putting it back is simple enough and you just swap it around
1:36
place the open end over the first pin. So don't do what I did the first time is just try to
1:43
go through both pins. You just place it over the first pin with the open end to the second pin
1:49
and then you just take a needle nose pliers or any old pliers and just squeeze and it'll pop
1:54
right back on. Just make sure that it's tight and there you go. That's all there is to it
2:00
In order to replace the link you'll have to slacken the chain otherwise you might not get
2:06
the two pins of the chain link through. So I have to loosen the rear wheel, move the
2:11
wheel forward to slacken the chain and that way you can take the master link out, put the new one in
2:15
and then simply pop on the retaining plate. That's it. Thank you for joining us. See you next time
#Autos & Vehicles